Understanding image formats for stickers
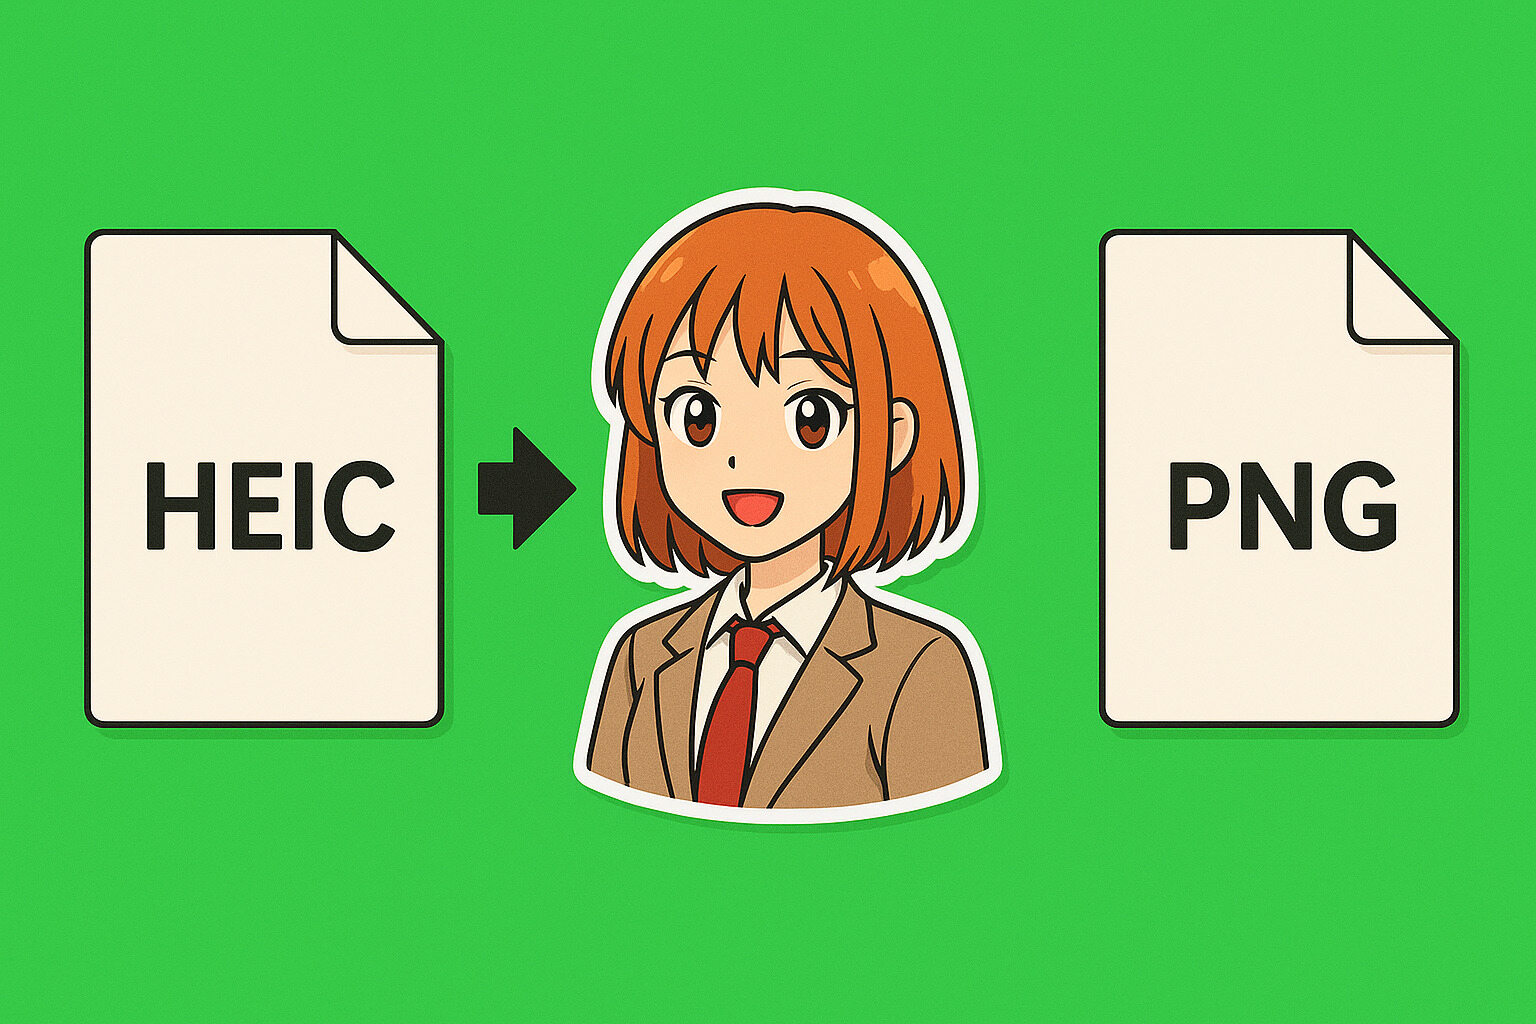
How to prepare anime Stickers by converting HEIC files to PNG starts with understanding image formats—HEIC files offer efficiency for photos, but PNG provides the wide support essential for sticker design.
PNG files excel at preserving detail and transparency. Stickers require clear edges and no background. Choosing to convert HEIC to PNG ensures that artwork looks crisp on various devices and print materials.
Knowing the difference helps choose the right workflow. HEIC captures your original photo or screenshot, while PNG prepares that image for editing, trimming, and eventual sticker use.
Gathering your source images
To begin how to prepare anime stickers by converting HEIC files to PNG, start with high-resolution HEIC images of favorite anime scenes or character art. Screenshots or camera shots often default to HEIC on iPhones. Make sure the subject fills the frame without unwanted shadows or reflections.
Transfer these HEIC files to a computer via cable, AirDrop, or cloud drive. Keeping original filenames helps track versions. If you shoot multiple angles or expressions, label each clearly to avoid mix-ups later.
Organizing an “AnimeStickerSources” folder prevents clutter. As you add HEIC files, create subfolders for characters or themes. This simple structure simplifies finding the right image when it’s time to convert.
Choosing a conversion tool on desktop
Several desktop apps convert HEIC to PNG with a few clicks. Free software like XnConvert or paid options like Adobe Photoshop will do the job. Each adds its own features for resizing and color correction.
Drag your HEIC files into the converter, set output format to PNG, and pick a destination folder. Some apps let you batch-select dozens of images at once. Be sure to preserve original resolution to maintain sticker quality.
Once converted, compare PNG previews to the HEIC originals. Check for any color shifts or unexpected artifacts. If something looks off, try a different tool or adjust export settings to fine-tune the results.
Using online converters for quick results
Websites like heictojpg.com or cloudconvert.com handle HEIC-to-PNG conversion without installing software. Upload images up to a set size, choose PNG, and download the processed files.
Online tools often limit daily conversions or file sizes. For a handful of stickers, that’s fine. For larger batches, consider a desktop solution to avoid waiting in upload queues.
Always clear browser cache or sign out after use if working on a shared computer. This simple step protects your artwork and privacy when handling personal anime screenshots or fanart.
Batch conversion tips for efficiency
When preparing dozens of sticker images, batch processing saves time. Select conversion tools that support folders or wildcards. Then drag the entire source folder onto the app window.
Rename PNG outputs automatically by adding suffixes like “_sticker” or inserting sequential numbers. This maintains order and prevents overwriting files with the same names.
After batch export, open the PNGs in an image viewer to spot any failed conversions. If a file looks blank or corrupted, reconvert that specific HEIC source before moving forward.
Optimizing resolution for sticker printing
Printed stickers need high DPI (dots per inch) — typically 300 DPI or more. Before finalizing PNGs, resize images to match common sticker sizes, like 2×2 inches at 600×600 pixels.
Maintain aspect ratio to avoid stretching character features. If the anime art is rectangular, choose a sticker shape that fits or plan to trim edges later. Adjust canvas size in an editor to add margins or bleed areas.
For digital stickers (e.g., messaging apps), lower resolutions of 72–150 DPI work. Export separate PNG sets: one for print and one for web. This dual approach ensures fast load times online and crisp prints offline.
Editing workflow: transparency and trimming
Open each PNG in a graphics editor like GIMP or Affinity Photo. Use background eraser or magic wand tools to remove unwanted areas. This step creates the transparent regions essential for professional stickers.
Zoom in on edges to refine cuts. Feather selections slightly for smoother transitions. A clean outline prevents pixelated edges when printed or viewed on different backgrounds.
After trimming, save layered project files alongside flattened PNGs. This practice makes future tweaks easier—if you need to adjust color or add borders, layers keep edits non-destructive.
Adding borders and effects
Sticker borders help characters pop against varied surfaces. In your editor, add a white or colored stroke around the trimmed PNG. A consistent 5–10 pixel width usually suits small stickers.
Shadow or glow effects add depth. A subtle drop shadow simulates lift off the page, while a faint outer glow creates a soft halo around the artwork. Keep these effects light to avoid overpowering delicate line art.
Preview borders on sample backgrounds—wood grain, notebook covers, or phone cases. This test shows how your stickers stand out in real life. Adjust color and width until the artwork shines in multiple contexts.
Saving and organizing final sticker files
Once edits finish, export PNGs with transparent backgrounds. Use clear filenames like “Hinata_jump_sticker.png” or “Nezuko_standout_border.png.” This clarity helps when uploading to sticker marketplaces or sharing with friends.
Create subfolders: “Print-Ready” for high DPI images and “Web-Stickers” for optimized, lower-DPI files. A well-structured folder mirrors your source organization, making long-term maintenance easy.
Back up your sticker library to cloud storage or an external drive. That way, updates to your device or accidental deletions won’t erase months of creative work. Reliable backups ensure your anime sticker catalog remains safe.
Bringing your stickers to life
Bringing your stickers to life is the final and most rewarding step in the creative process. For physical stickers, upload your finalized PNG files—especially those with transparent backgrounds and high resolution—to professional sticker printing services or vinyl cutters. Many platforms let you choose between finishes like matte, glossy, or even holographic vinyl, depending on the look you want to achieve. Always review the digital proofs carefully to ensure colors, outlines, and transparency appear as intended before confirming a bulk print order.
If you’re crafting digital sticker packs, organization and presentation are just as important. Group your PNG files into ZIP folders or use the submission systems provided by messaging apps like Telegram, LINE, or Discord. These platforms often require specific dimensions and transparent backgrounds, so double-check their guidelines. Adding relevant keywords and clear descriptions to each sticker enhances discoverability, helping fellow anime fans easily find and download your creations in sticker marketplaces.
Finally, don’t underestimate the power of community sharing. Post previews of your stickers on platforms like Instagram, Twitter, or Reddit, tagging relevant anime titles, characters, and fan pages. Use popular hashtags to reach a broader audience. Whether you’re offering them for free or selling them, your thoughtfully designed stickers can spark joy, inspire conversations, and create a sense of connection among fans who appreciate your favorite shows just as much as you do.